Fresh Homemade Baguettes in only 4 Hours!

fresh-baguettes
Not great slashing technique,
but still delicious!

If you crave fresh hot-out-of-the-oven baguettes, but you didn’t think it was possible to make them at home, here is the proof (see what I did there?) that not only can it be done, but it can be done relatively quickly and easily and can rival those found at the best bakeries. It’s from a great book, Local Breads, by Dan Leader. It only takes about 4 hours (much of which is just waiting around) and doesn’t require any special equipment. Give it a try when you have a little time…you won’t regret it..and as an added bonus, it makes your house smell great!

Please click here for the printable recipe.

Tip of the Day – Never Refrigerate Bread…Freeze It!

Sourdough Whole Wheat BreadThe best way to keep bread is at room temperature. After 2-3 days, you should wrap the bread well, put it in a freezer bag and freeze it.  Never store any bread in the refrigerator, because the cold temperature (38º-40º) accelerates the crystallization of the starches, causing the bread to stale much faster. When I bake a bread, as soon as it cools completely, I cut it, freeze half immediately and keep the other half cut-side down on a cutting board covered with a clean cloth. When that’s consumed, I take out the frozen half, defrost it at room temperature or wrap it in foil and bake in a 450º oven for 10 minutes and it tastes just as good as the day it was baked.

Sourdough Starter – Drying and Reviving It (and how to get it for FREE!)

Dried Sourdough StarterIt’s always a good idea to have some dried starter on hand as backup if, for some reason,  your “live” starter suffers an untimely death…it’s sad, but it happens. It’s also a great way to share your starter with someone. The drying process is very simple. Thinly spread some of your live starter on a sheet of parchment paper or plastic wrap…a pastry brush or spatula works well here…then just let it dry. When completely dry (it can take from a few hours to a full day, depending on temperature), just peel it off the paper and crush it up…a coffee or spice grinder works well or you can just put it in a zip lock bag and whack it a few times with a rolling pin (that’s the post-whacked state in the picture on the left). Store it in an air-tight zip lock bag at room temperature or in the refrigerator or freezer…it’s all good.

Now, if your ready to get started, you’re going to need some dried starter to start your starter, so check out my Sourdough Whole Wheat Pumpkin Seed No Knead Bread post where you’ll find the link to send for some Carl Griffith’s Sourdough Starter…it’s been around since 1847! I’ve been using it for 20+ years, it’s excellent, and you can’t beat the price…literally…’cause you can get it here for FREE!

Reviving your dried starter is a relatively simple process also. This great video clip is from Breadtopia, one of my favorite sites, and it shows you exactly how to do it. If you’re into bread and baking, you should definitely check out Breadtopia for amazing recipes and videos.

Save

Save

Save

Save

Save

The Best Bread and Bagel Knife is a Great Gift

Bread Bow Knife
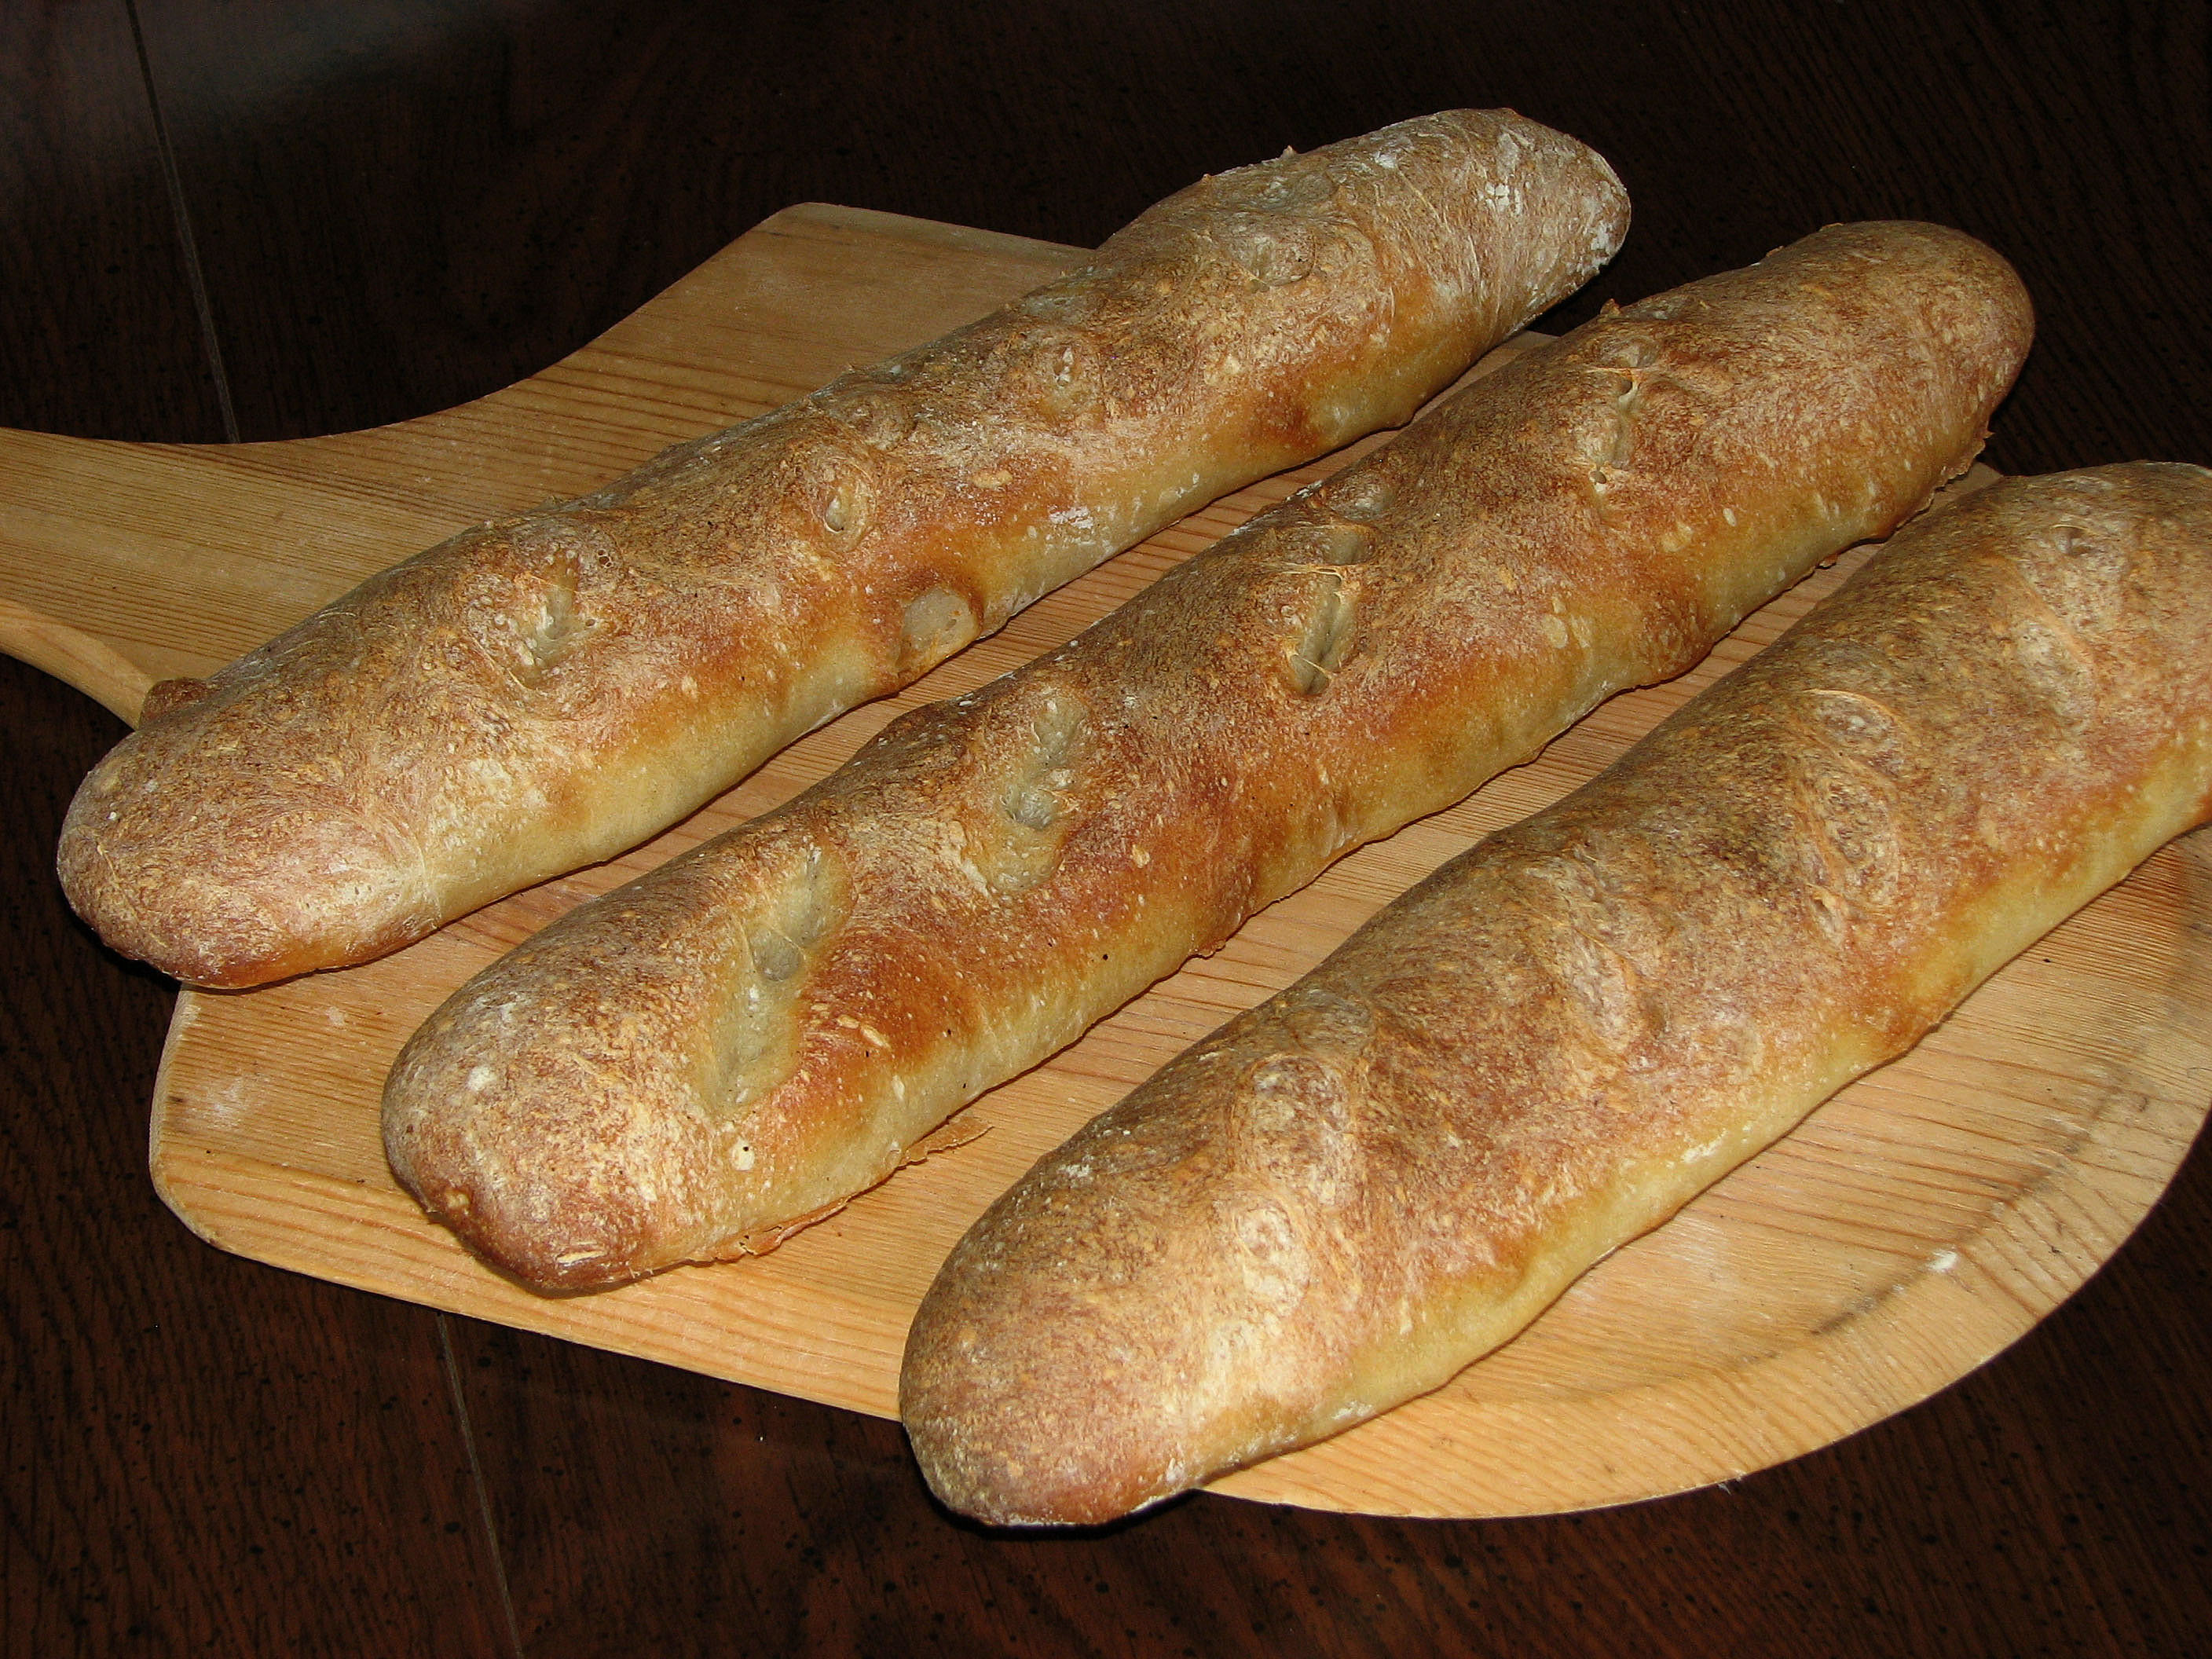
When you bake your own bread and love to eat it straight out of the oven, you know how hard it is to get a good, even slice from fresh-out-of-the-oven, warm bread. This Oregon Bread and Bagel Knife (another non-essential but really cool kitchen tool), made of Red Alder, a sustainable hardwood, has a beveled, scalloped edge (it never needs sharpening) that works like a super-sharp saw to cut a neat, uniform width slice of that crusty, aromatic freshly baked no-knead sourdough whole wheat pumpkin seed encrusted loaf that you can then slather in butter and watch as it melts into the nooks and crannies…ok, I’m getting a little carried away here, but there really is nothing better then homemade bread.

This knife is also perfect for cutting bagels, ripe tomatoes and just about anything else that you may have trouble slicing with a conventional knife…and, with the beautiful Red Alder handle, a hardwood that flourishes in the Pacific Northwest, it looks really great just sitting there on the kitchen counter or even hanging on your kitchen wall. It has an American-Made stainless steel blade that is double-ground, serrated & ultra-thin, the same blade that is used in industrial bread slicers that make thousands of slices a day.


This also makes a great gift for the cook who has everything…that’s how I got it (thanks Ned and Debi)!

Whole Wheat Sourdough Pita

I know lately I’ve kind of been dwelling on whole wheat sourdough baking variations, but I’m on a roll (get it?). Anyhow, if you take the Sourdough Whole Wheat Pizza Crust dough recipe and divide it up into 60-70 gram (about 2-2.5 oz) golf ball size portions, flatten them out into 4-6 inch rounds about 1/8 inch thick and throw them in a 500 degree oven (preferably on a preheated baking stone, but a baking sheet works too) for 5-6 minutes (flip them over after about 3 minutes), they will puff up into beautiful, tasty pitas. It’s actually amazing to watch!

Sourdough Whole Wheat Pumpkin Seed No-Knead Bread

I have been experimenting lately with recipes for a simple no-knead whole wheat bread and I think I’ve come up with a one that seems to be pretty foolproof and gives consistently great results. Some sourdough purists might object to the use of instant rise yeast in addition to the sourdough starter, but I think for the novice sourdough baker, it insures that you’ll  get a good initial rise and excellent oven spring with an amazing sourdough taste. I’m currently using Carl Griffith’s sourdough starter, a strain of starter that is over 160 years old that can be obtained for a FREE at this address. This recipe is adapted from one on the amazingly informative Breadtopia website and solves the common problem of a too “wet” no-knead dough.  I recommend watching this excellent video at Breadtopia.com before making this bread…it  does a great job of demonstrating the techniques needed to make an incredible no-knead bread.

If you are just starting out baking bread, this is a great baking kit to start with. It includes a 9″ rattan banetton (bread proofing basket) with its linen liner (so dough doesn’t stick), a bread lame for scoring, and a dough scraper…just about everything you need to get started.

Click here for the recipe with photos.

Cookhacker’s Sourdough Whole Wheat Pumpkin Seed No-Knead Bread

Yields one 1 ¾ lb loaf
Course Side Dish
Cuisine American
Prep Time 18 hours
Cook Time 45 minutes

Ingredients

  • 340 grams (12 oz) All Purpose or Bread Flour
  • 142 grams (5 oz) Whole Wheat Flour
  • 321 grams (11.5 oz) Water
  • 62 grams ¼ cup Active Sourdough Starter
  • 1/8 teaspoon Instant Yeast
  • ¾ tablespoon salt
  • 40-50 grams lightly toasted pumpkin seeds and/or sunflower seeds...I use a combination of both
  • Vegetable Spray

Instructions

  1. Combine the two flours and salt in a large mixing bowl. In a large measuring cup, add the water, sourdough starter and the instant yeast and stir to combine.
  2. Add the wet ingredients to the dry ingredients and stir until mixed well (a dough whisk is the best tool for the job, but a wooden spoon works well also). Cover with plastic wrap and let the dough rest at room temperature for about 14 hours.
  3. At this point the dough should about doubled in size and be nice and bubbly on the surface. Flour your work surface and place the dough on it. Gently spread the dough out to about a 8” by 12” rectangle and sprinkle about a quarter of the pumpkin seeds across the surface of the dough. Then, as you fold the dough in thirds (as shown in the Breadtopia video) scatter each surface with more pumpkin seeds as you fold and then do a quarter turn of the dough and fold in thirds again and form into a ball. Top the dough ball evenly with the rest of the seeds and cover with plastic wrap and let rise for 15 minutes.
  4. Spray the proofing basket with the vegetable spray and sprinkle generously with wheat bran to prevent sticking (you can use cornmeal in place of the wheat bran). Flour your hands and invert the dough ball, seed side down, into the proofing basket, cover with a dish towel and let rise until doubled…about two hours. When you can poke your finger gently into the dough and if it doesn’t spring back, the dough is ready.
  5. About 30 minutes before the dough is ready, preheat the oven to 450 degrees. Put a 4-8 quart covered cast iron Dutch oven in the oven as it heats. When the dough is ready to go, gently invert the dough on a large piece of parchment paper. Carefully remove the hot Dutch oven, uncover it, lower the dough on the parchment paper into the Dutch oven, cover quickly and place back in the oven (if you don’t have parchment paper, the dough can be gently placed directly into the Dutch oven…just be careful).
  6. Cook covered for 20 minutes, then uncover and continue cooking till the bread reaches an internal temperature of about 200-210 degrees and is nicely browned, approximately 25 more minutes.
  7. Remove the bread and place on a cooling rack, let it cool for at least an hour (it continues cooking internally...cut it too soon and it will be "gummy") and in about 1 hour it’s ready to eat.

Danish Dough Whisk…a very cool bread baking tool

This Danish Dough Whisk is an indispensable tool for mixing dough by hand prior to kneading. It’s long, thick wooden handle provides a great ergonomic grip, which gives you the leverage you knead for easily blending a stiff bread dough. Because of it’s funky shape, it’s much more practical and efficient then a wooden spoon for mixing heavy sticky doughs, and as an added benefit, it’s way easier to clean!